

Export/Import IDE Settings in PhpStorm 2022.2.2
In this tutorial, we’re going to export our IDE settings in PhpStorm 2022.2.2 and import them on another machine also running PhpStorm. This will allow us to standardize code style scheme, database drivers, debugger, default font, editor colors, etc. on other PC’s that have PhpStorm installed.
I’ll be illustrating how to export/import the PhpStorm IDE settings on Windows, but the process is identical whether you’re running on Linux or MacOS.
This is a really simple process so let’s jump right in!
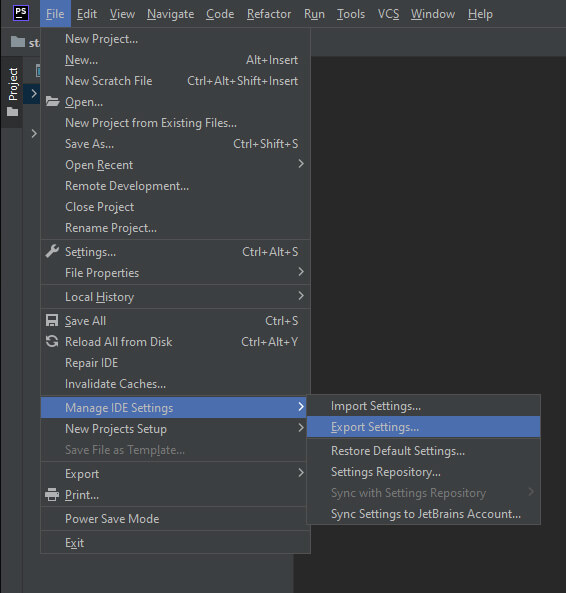
Step 01: Open the Manage IDE Settings > Export Settings… Prompt
First we need to open PhpStorm on the source machine. Once loaded, click on File, then Manage IDE Settings and Export Settings…
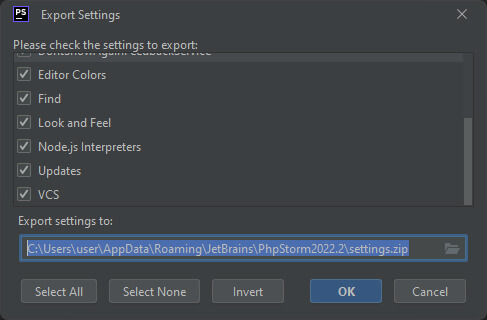
Step 02: Choose A Location For the Export
Next we simply need to select a location to store the settings within your file system. You can also toggle which components you would like to include in your export. In my case, I want everything to transfer over, so all of my components are checked.
The settings will be exported as a ZIP file and when we import them, we want to import them as a ZIP file as well so we won’t be opening or modifying this ZIP file.
Whew! That was super easy. Now we’ll focus on importing it on the destination machine.
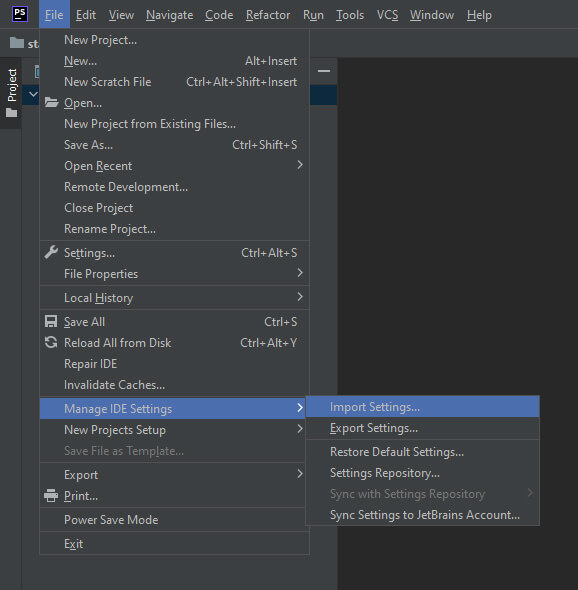
Step 03: On the Destination Machine, Open Manage IDE Settings > Export Settings… Prompt
Much the same as when exporting, the importing settings are close by in the menu. Click on File, then Manage IDE Settings and Import Settings…
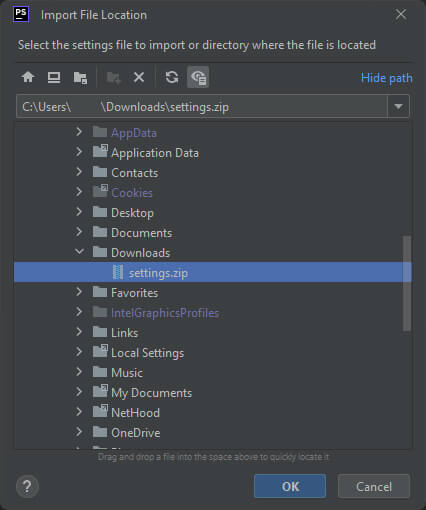
Step 04: Setting the Import File Location of The Exported IDE Settings
We need to tell PhpStorm where the settings.zip file is located. We’re given an interface to browse through the file system and point to the archive file.
Step 05: Select Components to Import Into PhpStorm
Now we need to decide what components we would like to include in the import. Check or uncheck components that you would like to include or exclude, respectively.
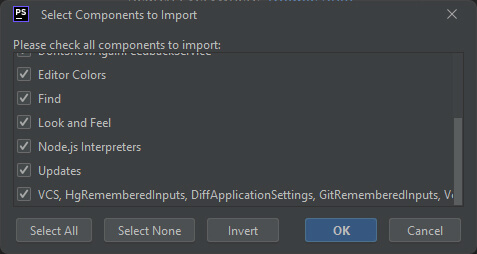
As mentioned earlier, I want to copy everything over to the target machine’s install of PhpStorm. The components are fairly self-explanatory, but if you’d like to read more about the components, you can check out the documentation directly from JetBrains for PhpStorm.
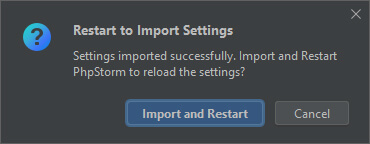
Step 06: Finalize the Import and Restart PhpStorm
At this point, the settings have been imported successfully. For the IDE settings to take effect, we need to restart PhpStorm, so click the Import and Restart button here.
When PhpStorm loads back up, you should now see that all of your settings have imported successfully.
What If I Want My IDE Settings to Sync Automatically With My JetBrains Account?
Great question! The fine folks at JetBrains have also made this a possibility. You will have to log into the IDE software and this could lead to some sort of analytics or metrics that are sent back to JetBrains, but I’ll leave that up to your discretion.
You also have the option of sharing your settings through an online repository. If you’d like to read our tutorial on setting this up, please watch this space for an updated article that walks you through both processes.